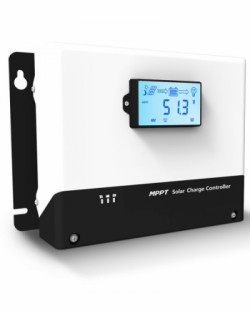
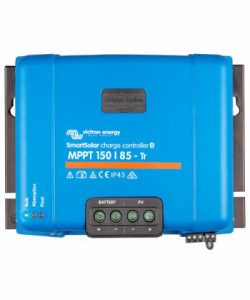
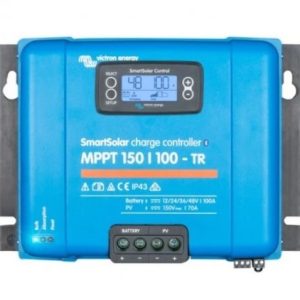
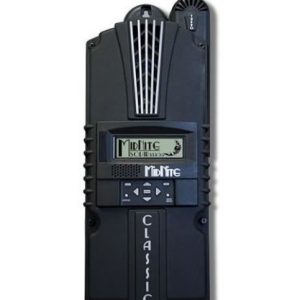
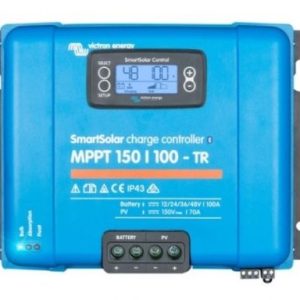
The MPPT 250V 100A LCD 12/24/48V Regulator recharges the batteries from the energy produced by photovoltaic solar panels.
Technical characteristics Regulator MPPT 250V 100A LCD 12/24/48V
This MPPT Regulator is prepared for photovoltaic solar installations and supports a maximum of 100A of maximum charge to batteries. One of the best features of this range of models is its ability to work in 12V, 24V or 48V installations and with detection of the working voltage.
The efficiency of the MPPT tracker that incorporates the MPPT 250V 100A LCD 12/24/48V Regulator is greater than 99%, also having a low consumption of just 0.5W of static consumption. It incorporates a maximum power tracking algorithm that offers up to 30% more production than a PWM regulator of equivalent power.
The MPPT 250V 100A LCD 12/24/48V Regulator makes the panel work at its optimal point where the relationship between voltage and intensity is maximum in order to adapt to the best lighting conditions at any given time. Its multi-stage charging algorithm will ensure optimal battery care, which can be lithium or lead technology.
The MPPT 250V 100A LCD 12/24/48V Regulator incorporates an LCD screen on the regulator chassis itself, to be able to monitor the installation in situ and also Bluetooth connectivity to perform the configuration and be able to see its operation from our Smartphone within the working range of this wireless connectivity.
250V MPPT regulator
One of the great advantages of using a MPPT 250V 100A LCD 12/24/48V Regulator is the possibility of designing photovoltaic systems that work at a higher panel voltage. One of the main losses of classic off-grid photovoltaic systems is the high work intensity of the photovoltaic fields. Using a charge regulator that can work up to 250V in open circuit, we can design a solar system with the same charge capacity but with less intensity thanks to its higher voltage.
In a system with a 250V MPPT regulator, if we use panels with 60 normal cells around 280W, it is advisable to connect them in threes; however, thanks to this model capable of working with up to 250V, they could be connected in series of 5 or even 6 depending on the maximum voltage of the solar panel.
Connections of the Regulator MPPT 250V 100A LCD 12/24/48V
1- LCD screen.
2- Bluetooth 4.0 module.
3- Positive battery cable connection.
4- Negative battery cable connection.
5- Panel negative cable connection.
6- Panel positive cable connection.
7- RS485 communications.
8- Key.
9- TTL communications.
10- Battery temperature probe connection.
11- Battery voltage sensor connection.
12- Relay output.
Protections Regulator MPPT 250V 100A LCD 12/24/48V
Among other extras, the MPPT 250V 100A LCD 12/24/48V Regulator has the following protections:
– Reverse polarity in the photovoltaic field. The regulator is disconnected when the current flows in the reverse direction.
– Short circuit in the photovoltaic input. Its operation is restored when the short circuit is corrected.
– Overload. When the maximum power allowed by the regulator is exceeded, production is limited to the maximum capacity of each model, in this case 100A.
– Reverse battery polarity. If the battery current flows in the reverse direction, the regulator also protects itself and resets itself.
Power of panels with Regulator MPPT 250V 100A LCD 12/24/48V
Depending on the working voltage of the batteries, we have limitations with the maximum photovoltaic power that the MPPT 250V 100A LCD 12/24/48V Regulator can convert into energy to charge them:
– At 12V: 1300W of PV power.
– At 24V: 2600W of PV power.
– At 48V: 5200W of PV power.
1- The first thing to do is connect the positive battery power cable. First we connect it to the regulator and then to the battery terminal. You must use the appropriate section for the power of this regulator, whose chassis allows you to connect cables with a section of up to 35 mm. It is advised to use double jacketed and tinned solar cable for best performance.
2- The second thing to connect is the negative cable to the battery. As with the positive cable, to prevent accidental contact, first insert the cable into the regulator connector and then make the connection to the battery terminal. At this point, the regulator is already active, and we can see on its screen the state it is in and configure it via Bluetooth.
3- Next we can connect the positive cable that comes from the panels. We make sure it’s the right end, even though we have reverse polarity protection, we need to connect the correct cable.
4- Finally, we connect the negative cable that comes from the panels. Once this step is completed, we can see how the energy flow to the batteries appears on the screen, carrying out the load that we have configured.
For disconnection, it is recommended to follow the reverse order and thus carry out this process safely for the proper functioning of the regulator.
Bluetooth’s connectivity Regulator MPPT 250V 100A LCD 12/24/48V
This MPPT regulator has a double type of monitoring, on the one hand the LCD screen on the surface of the regulator itself and also Bluetooth connectivity to be able to configure and monitor it in a more comfortable way from our mobile phone. Bluetooth is integrated, so there is no need to purchase any additional components separately.
Thanks to the Bluetooth interface, from our mobile phone, through the manufacturer’s application we can carry out a multitude of operations, such as:
– Visualize the parameters in real time of the regulator and also the historical data of production, very
useful if we do not have a direct line of sight with the screen that incorporates the regulator.
– Change the configuration of the type of battery between the predefined modes, being able to establish custom charging parameters.
– Check temperature and an estimated capacity of the battery.
Installation Regulator MPPT 250V 100A LCD 12/24/48V
The installation of this MPPT controller is very simple, however AutoSolar recommends that you carefully follow the instructions for its installation and handling. If you have any questions, contact us to make sure it is done correctly.
We strongly recommend that you consult the manufacturer’s manual, which you will receive with your MPPT controller. Any negligence due to improper installation, improper handling or improper use voids the product warranty.
